While automating metrology and inspection to improve product quality is not new, the reasons and goals to automate have evolved along with the technology and need. For example, inspection techniques used by contract manufacturers (low-volume/high-mix) versus conventional product manufacturers (high-volume/low-mix) are different. Furthermore, the size and the scale of manufacturing also impact the level of automation. The value of the parts also influence the inspection process, further impacting any automation strategy. In a nutshell, many variables drive the levels of automation that influence product quality.

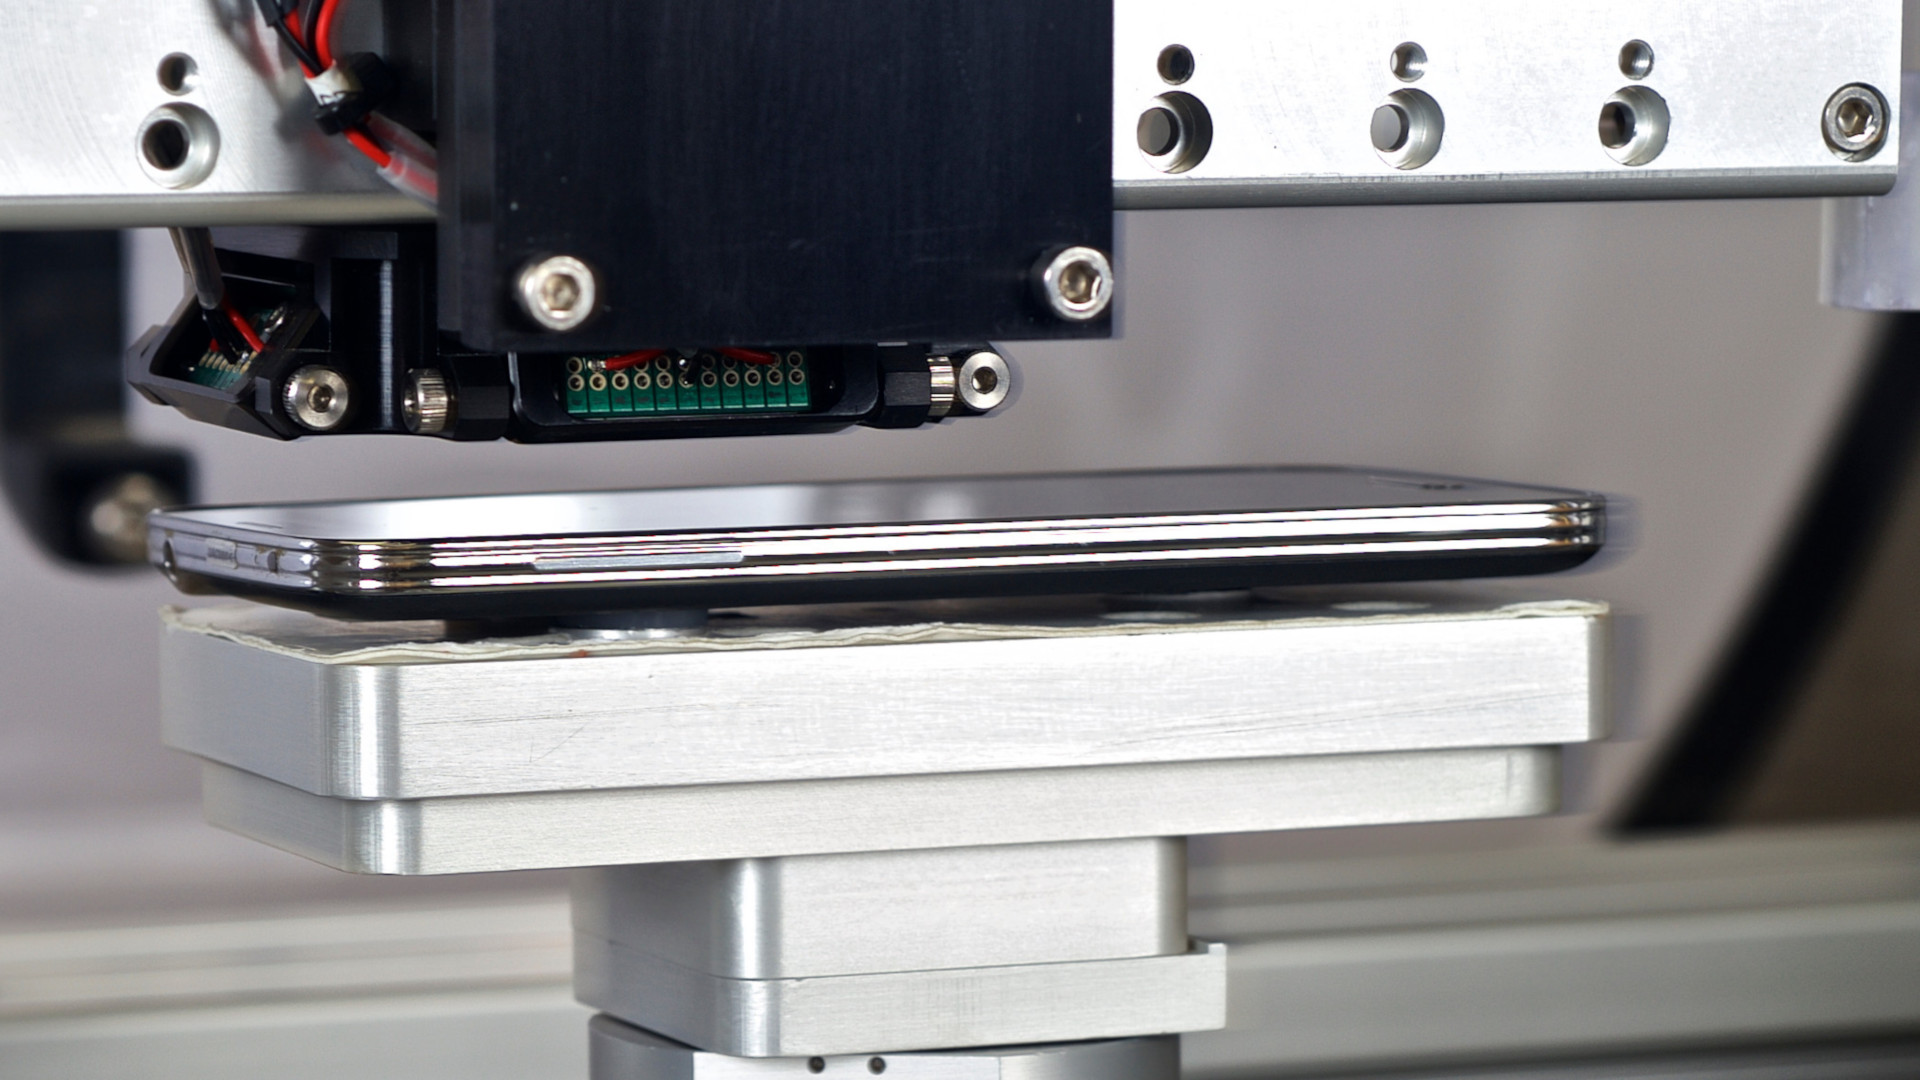
High-speed, non-contact measurement systems use state-of-the-art sensors to measure complex parts in seconds and improve manufactured part quality.
High Volume, High Precision
Consider some examples from consumer electronics, a market defined by high-volume manufacturing. Parts and products in this space run the gamut in terms of part values. Connectors, for example, are manufactured for cents on the dollar, while finished products, such as cell phones, often cost hundreds of dollars to assemble.
Measuring the sheer volume of small, complex components at the speeds required by consumer markets is extremely challenging. A basic smartphone housing, for example, could require up to 30 measurements per part to be inspected – with tolerances ranging from 20-80µm. When consumer demand requires that a manufacturing line produce at least four parts per second, that manufacturing line needs an automated metrology system that can perform 120 measurements per second.
Now, consider a more complicated component, such as an adapter required to transfer data or power between devices. A component such as this could require over 1,000 measurement points per part with dimensional tolerances of 20-200µm. Automated systems can perform these inspections and measurements with less variability than human workers, resulting in greater control and consistency of product quality and achieving higher output.

Original equipment manufacturers demand more measurements of smaller and smaller components with tighter tolerances and at much higher speeds.
In consumer electronics, even basic building blocks, such as connectors, need to be rigorously monitored for defects. A slight shift in manufacturing tolerances would cause mating issues, frustrating end consumers when they try to connect power or transfer data to their devices. This would reflect very poorly on the brand.
With throughput reaching unprecedented levels and quality requirements demanding more measurements, metrology can no longer be relegated to the lab. Inline metrology is critical to produce high-volume, high-precision products to keep pace with consumer demand.
Integrated Production Process
The Fourth Industrial Revolution is upon us and the modern manufacturing process requires data to keep pace. Extracting high-quality data is a task well suited to measurement technology. Once captured, metrology and inspection data allows manufacturers to perform advanced analysis for upstream process improvements and more proactive, predictive decision-making.
To capture and maximize these benefits, metrology must migrate from the lab to the production line for tight integration into the manufacturing process. This requires automation. Automating dimensional inspections at various points, or in one comprehensive system, on the production line ensures a faster and more efficient measurements process. Inspection automation systems can feed data to a global repository via the MES for real-time analysis and upstream process corrections.
Integrating metrology systems and data collection into the manufacturing process offers additional advantages as well. A data-driven manufacturing process results in less scrap by more efficiently using materials, maximizes asset utilization through continuous production, offers greater process control for more predictable outputs, reduces congestion and bottlenecks, and increases labor efficiencies.
Inspection automation lends itself to the Factory 4.0 and Industrial IoT (IIoT) paradigm that not only helps to enable efficiencies in manufacturing, but enables product quality.
Today, precision metrology is an indispensable part of the production process, but the prospect of implementing an automated metrology and inspection solution can seem intimidating. Finding a trusted partner, such as DWFritz, with experience in high-volume, non-contact solutions is a great first step to pursing a higher quality, more productive manufacturing process.
